The system consists of six modules: graphic input, process processing, tool path trajectory calculation and generation (ie, mathematical processing stage), machining simulation, post processing, and NC program code output. The functions of each module are as follows: The graphic input module uses the drawing function provided by the AutoCAD software itself to complete the geometric modeling, editing, and modification functions of the graphic. The process module selects the tool and determines the spindle speed, feed rate, and so on. The tool path trajectory calculation and generation module selects the corresponding target graphic with the cursor in the CAD environment. The system will automatically extract the information required for programming from the graphic file, calculate the node data, and convert it into the tool position data and store it in the tool position. In the file. The post processing module sets a post processing file and edits it, and defines the code and file format used by the NC machining instruction file according to the format specified by the file. When the software performs post processing, it will automatically generate the required machining instruction file according to the requirements of the file. The machining simulation module selects the drawn graphic, executes the simulation machining command, and can see the machining path of the machining process on the screen, that is, realize the simulation of the machining. The NC code output module can directly or indirectly input the machining instruction file generated by the post processing to the CNC machine. 2 principles and implementation process For NC automatic programming, the main link is to extract the geometric information needed for the machining trajectory from the CAD drawing, and to sort and optimize the geometric information, get a reasonable processing path, and finally get the processing program. 2. 1 Get graphic entity geometry information At present, in AutoCAD, there are three ways to obtain the geometric information coordinates of the graphic entity: (1) For more complex graphics, obtain it through the DXF file. (2) For a simple graphic, convert the graphic to PL INE, and then get the geometric information of the PLINE entity. (3) In an interactive manner, the geometric information of a single entity is obtained by selecting an entity, which is applicable to any graphic in general. This article uses the third way. The specific principle is as follows: In general, after the AutoCAD graphics are broken, they are finally straight lines or arcs. Therefore, the graphic entities to be processed in the program are straight lines and arcs. The geometric information of the line is the start and end coordinates, and the geometric information of the arc is the start point, end point, radius and center coordinates. When the user selects an entity, the selected entity will become a dotted line, enhancing the user's visual perception, while the entity will be added to the entity selection set. After all the entities have been selected, AutoCAD changes the color of the entities in the entity selection set. The following is a specific implementation process: the establishment of entity selection sets using some functions in the ARX library, such as functions are mainly used to create entity selection sets, acedSSFree function is used to release entity selection sets to establish entity selection sets. The selection entity uses acedNEntSelp to make the selected entity a dotted line, distinguish it from the unselected entity, and save the coordinates of the graphic entity. Obtaining the geometric information result buffer (structresbuf) is one of the core concepts of the ARX support environment. A result buffer is used to represent the data of the entities of AutoCAD and the various tables. In the actual application, first access the restype member in the resbuf structure, determine the type of the entity according to the value of the restype, and then obtain the geometric information of the entity, such as coordinates and radius. The graphic redraw will be redrawed by the entity that is displayed as a dotted line after selection, so that the color can be changed, so that the user can intuitively judge whether the selected graphic outline is correct. 2. 2 graphics data processing Since all the graphics are composed of lines and arcs, we only need to process the lines or arcs when storing these elements. First, determine whether the entity is a straight line or an arc from the entity selection, and then process the line or the arc separately, find the equidistant line of each line or arc, and then perform self-intersection and mutual processing on the equidistant line. Finally, Obtain the trajectory of the tool and save it as a location file. 2. 3 generate CNC machining instructions The author uses the CNC system of the American Baolun Company. The format of the NC code is different from the recommended G, M, T, X, Y, Z and other instructions in the international CNC standard. It has its own set of NC code programming methods. To describe the machine's motion parameters and machining process parameters. For example: acceleration AC, deceleration DC, speed SP, emergency stop AB, line command LI and other commands. The tool path generated by the system is composed of straight lines and arcs. After the processing trajectory is generated, the NC machining instruction can be easily generated according to the data obtained by the entity decomposition. The strcat function connects each part of a numerical control instruction into a serial number to the file variable name, and then writes the contents of the file variable. Enter one of the disk files specified by the user, generate one, and write one. After all the processing instructions of the pixels are generated, the file is closed with the close function. The setting of the CNC machining process parameters is done by the user in an interactive manner. Its interactive interface is shown by the mixed programming of M FC and ObjectARX. There are two main types of machining process parameters: tool parameters and machining feed rate. For example, H is the tool height, L is the tool length, R 1 and R 2 are the tool radius, and DC J1 and DC J2 are the tool deflection angles. 2. 4 NC program code editing The module checks and modifies the automatically generated NC file, or you can manually enter the programming. 2. 5 processing trajectory simulation There are two ways to simulate a machining path: one is simulated by NC code; the other is simulated by a tool position file. The advantage of the first method is that errors in the NC code can be found, and errors are eliminated and corrected in time when the CNC machine is not in operation. But this method requires a separate NC code universal translation module, which increases the complexity of the application. The second method is more convenient, because the coordinates in the tool position data file can be directly used by AutoCAD, and the track can be directly displayed on the screen, but the error in the NC code cannot be verified. The system uses the second method to simulate, read the location file, and use single-step simulation or continuous simulation according to user requirements until all simulations are completed. Then compare the newly generated graphics with the part drawing to determine whether the machining path is correct. If you are not satisfied, you can use the editing module to modify and regenerate the NC program. 3 system application examples The machining program of this part is roughed first, and then finished after 1s. The tool path for the machining simulation is as shown. The roughing tool path on the left in the figure is automatically generated by the system, and the finishing path on the right is obtained by extracting the contour of the workpiece. 4 Conclusion Through the secondary development of AutoCAD, the automatic programming of graphic NC machining in AutoCAD environment is realized, which solves the problem of low efficiency of manual programming. At the same time, the simulation of the tool processing process greatly improves the reliability of the machining, and reduces the errors caused by the problems of overcutting and interference in the actual machining. It is proved by practice that the method is feasible. The system has been put into production and use in a company in Jiaxing, Zhejiang Province, which has produced good economic benefits. (Finish)
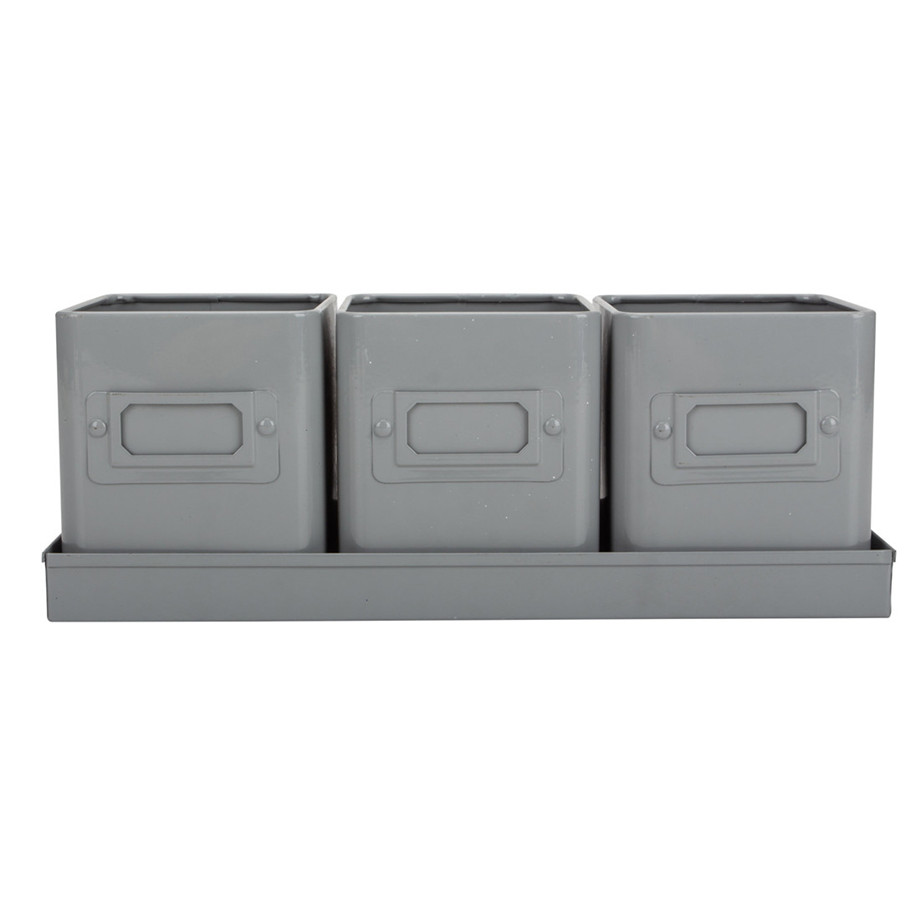
We're professional factory producing garden tin products, such as Tray Set Planters, Vintage Galvanized Windowsill Planter, Cuit Caddy Herb Planterswith customized logos and customized colors.
Our Metal Bucket Planters are made from galvanized steel and tinplate materials, which are durable and environmental-friendly, withstanding the test of time, and they can all be applied with powder coated on the suface, making the cans more colorful and beautiful.
Comparing to other similar manufacturers, our products are more competitive in prices, durable in quality.
We sell high quality watering cans to European, North America, enjoying a large market all over the world.
Tray Set Planters,Vintage Galvanized Windowsill Planter,Cuit Caddy Herb Planters,Vintage Tin Planter Jiangmen Kimleyda Hardware Co., Ltd , https://www.kldmetalware.com


Analysis of Intelligent Programming and Exploration of CNC Machine Tools for Network Platform
1 system structure